
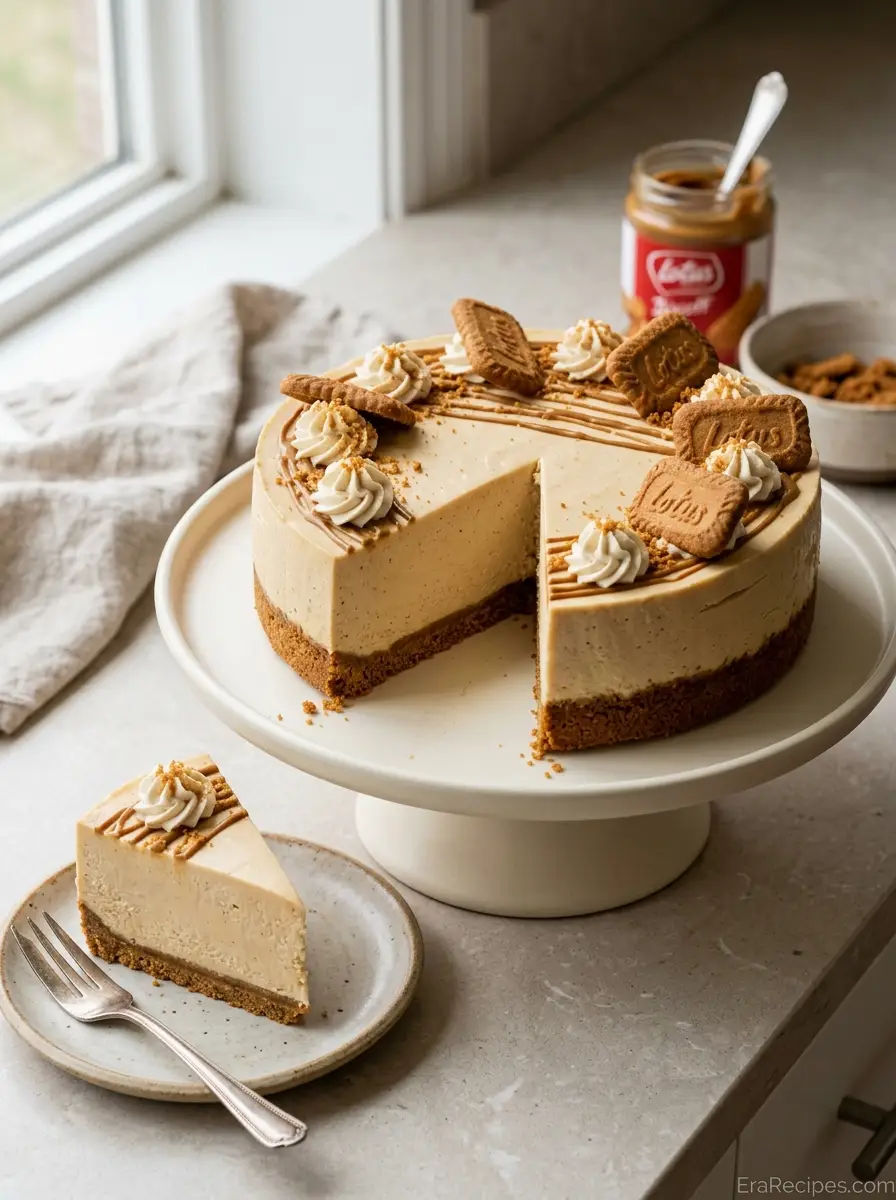
Biscoff Cheesecake layers a firm spiced-cookie crust with a thick, creamy cookie butter filling for a dessert that requires no oven at all. The flavor comes almost entirely from Biscoff cookies and cookie butter spread, giving every slice a warm caramelized spice flavor from the crust through the filling.
This is an especially useful dessert when you want to prepare something ahead. The active work is short: crush the cookies, press the crust, whip the filling, and spread it into the pan. The refrigerator handles the rest. Once thoroughly chilled, the cheesecake can be released from the springform pan, decorated, sliced, and served straight from the refrigerator.
The most important part of a successful no-bake cheesecake is texture. The cookie base needs to be fine and compact, while the filling must be whipped until it is thick enough to hold its shape before it goes into the pan. Giving the finished cheesecake enough uninterrupted chilling time then allows those two layers to become firm enough for clean slices.
Why This No-Bake Cheesecake Is Good for Make-Ahead Desserts
A dessert that can be finished before guests arrive removes a lot of pressure from entertaining. Biscoff Cheesecake is particularly suited to that approach because it actually benefits from spending several hours in the refrigerator.
Instead of trying to bake, cool, and decorate a cheesecake shortly before serving, you can assemble this one earlier in the day or the night before. The long chill gives the filling time to firm while the buttery cookie crust settles into a compact base.
That makes this easy no-bake cheesecake useful for birthdays, holidays, weekend gatherings, and other occasions where oven space may already be needed for other food.
The recipe also uses a relatively short ingredient list. There is no baked custard, water bath, or complicated crust technique. The main ingredients repeat across the crust, filling, and optional decoration, so the finished dessert stays focused on one recognizable cookie butter flavor.
It is also a natural Lotus Biscoff dessert for anyone who enjoys the caramelized flavor of the cookies and spread. Instead of using the cookies only as decoration, both major layers reinforce the same flavor.
The Principal Ingredients Behind the Cheesecake
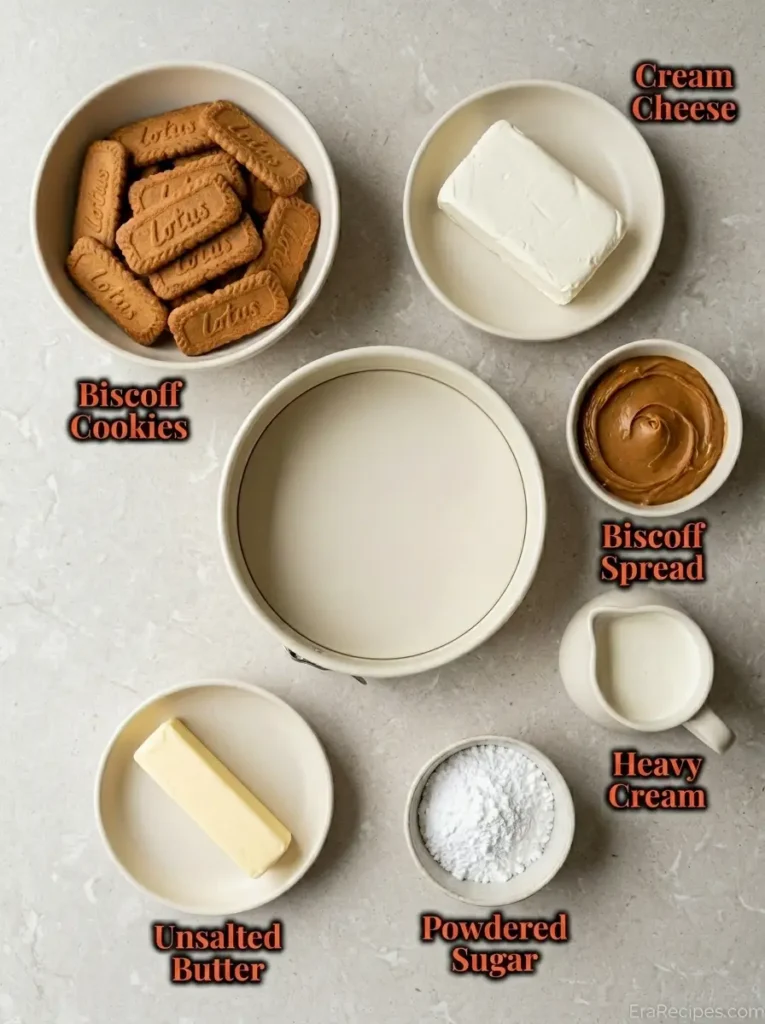
Biscoff cookies make the crust
The cookies form the entire structural base of the cheesecake. Processing them very finely is important because coarse pieces leave gaps and make the crust more likely to crumble when sliced.
The ideal texture resembles fine sand rather than broken cookie pieces. Once mixed with melted butter, the crumbs should look evenly moistened without becoming greasy.
Pressing that mixture firmly into the springform pan gives the finished slice a cleaner bottom edge and creates enough strength to support the thick filling.
Unsalted butter binds the crumbs
Melted butter coats the cookie crumbs and helps them set together once chilled.
Too little pressure during assembly can still leave the crust loose even when enough butter is present, so mixing and pressing are equally important.
The butter also softens the very crisp cookies slightly, producing a base that remains firm but is easier to cut than dry crushed biscuits.
Full-fat cream cheese gives the filling structure
The filling depends heavily on full-fat cream cheese. Lower-fat versions generally contain more water and provide less body, which can make a no-bake filling softer.
Before mixing, check the container for any visible liquid and drain it if needed. Excess water works against the thick texture required for clean slices.
The cream cheese should be smooth before the heavy cream is fully whipped into the filling. Starting with a smooth base reduces the chance of small lumps remaining in the finished cheesecake.
Biscoff spread creates the cookie butter flavor
Biscoff spread gives this cookie butter cheesecake its strongest flavor and its pale caramel color.
Either smooth or crunchy cookie butter can work, although smooth spread gives the filling the most uniform texture.
The spread is mixed directly with the cream cheese, powdered sugar, and vanilla before the heavy cream finishes thickening the filling.
Heavy cream helps the cheesecake hold its shape
Heavy whipping cream gives the filling volume and firmness without baking.
The mixture needs to be whipped until it becomes thick enough to hold itself. If it remains loose and flowing, chilling alone may not create the stable cheesecake texture you want.
Whip carefully and stop when the mixture is clearly thick. Continuing far past that point can make a dairy-based filling grainy or cause it to separate.
Powdered sugar sweetens without adding grit
Powdered sugar dissolves easily into the cream cheese mixture. It contributes sweetness while maintaining a smooth filling.
Biscoff spread is already sweet, so the sugar should support the cookie butter flavor rather than dominate it.
Turn the Cookies Into a Fine Crumb
Begin with the crust because it needs to be ready before the filling is whipped.
Place the Biscoff cookies in a food processor and process them until no obvious pieces remain.
Pause and check the bottom and sides of the processor. Larger cookie fragments can sometimes remain underneath the blade or along the bowl.
Add the melted butter and combine it thoroughly with the fine crumbs.
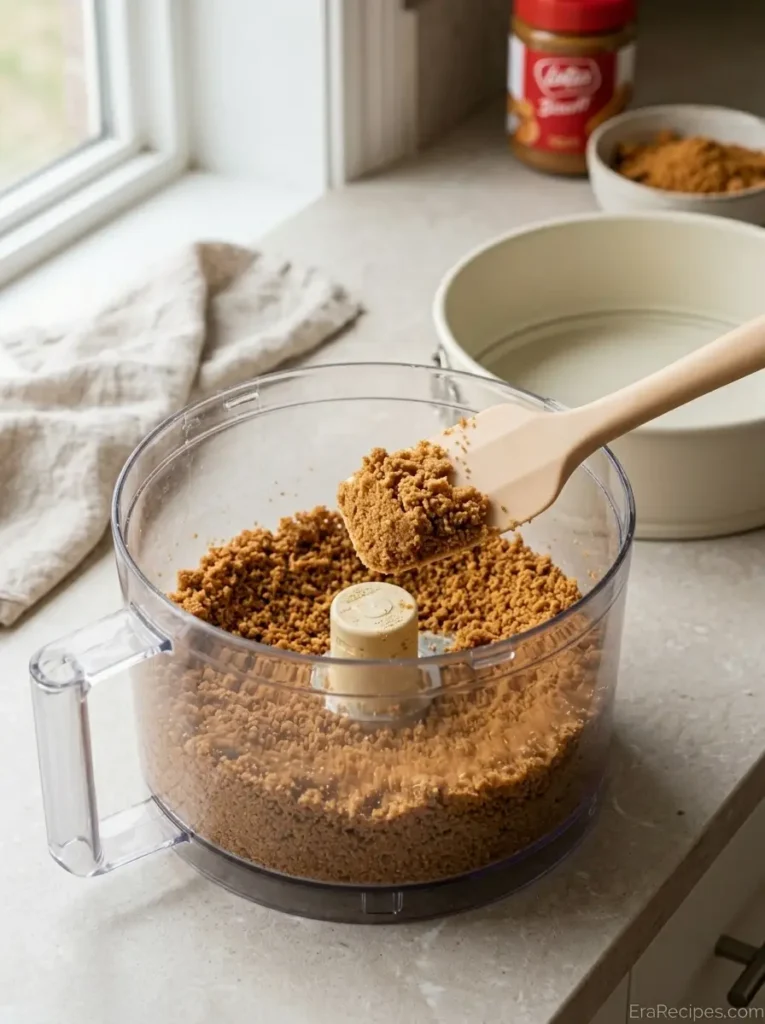
The mixture should look evenly damp. When you press a small amount together, it should hold rather than immediately falling apart.
Avoid adding extra butter simply because the crumbs initially look loose in the bowl. The real test comes once they are compressed into the pan.
Press a Firm, Even Cookie Crust
Transfer the buttered crumbs into a deep springform pan and spread them across the bottom.
Use the flat base of a measuring cup or glass to compress the mixture. Start in the center, then work outward toward the edges.
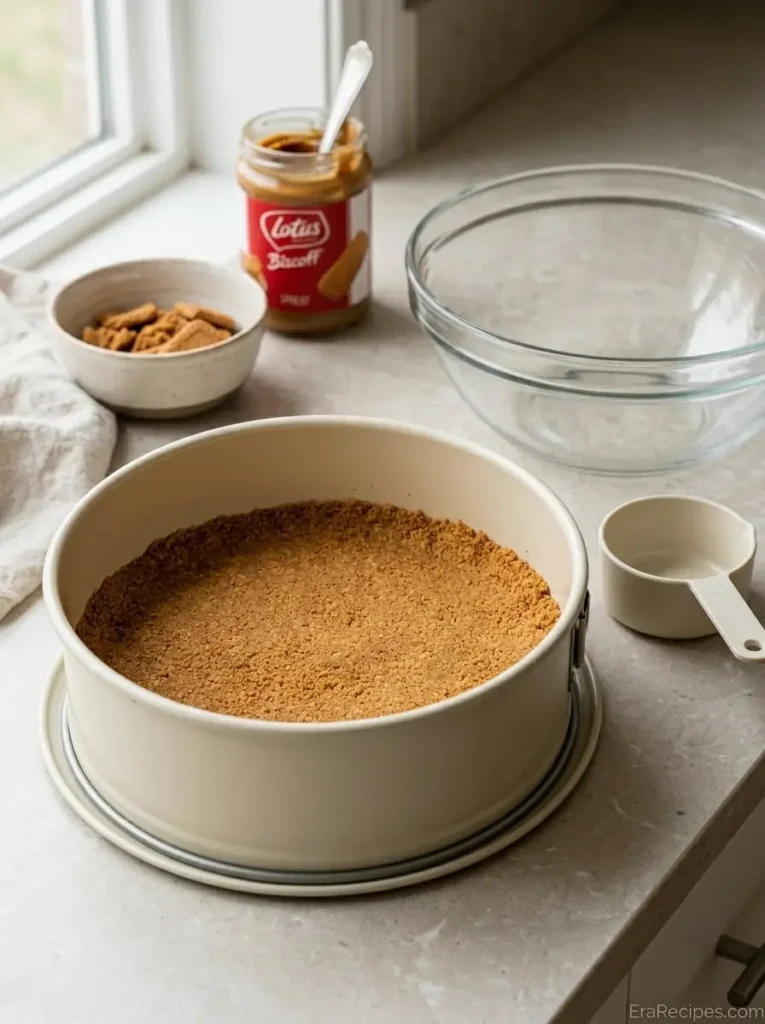
Pay extra attention where the bottom of the pan meets the side. Loose crumbs around the perimeter are often the first part of a crust to break when the cheesecake is released.
The crust should form one compact, level layer rather than a loose bed of crumbs.
There is no need to build the crust high up the sides for this version. Keeping it on the base creates a clear horizontal contrast between the dark golden cookie layer and creamy filling.
Once pressed, set the pan aside while you prepare the filling.
Whip the Filling Until It Can Hold Its Shape
Place the full-fat cream cheese, powdered sugar, vanilla, and Biscoff spread in a large mixing bowl.
Whisk until the mixture becomes completely smooth and uniform. Scrape the sides and bottom of the bowl so no plain cream cheese remains hidden around the edges.
Add the heavy whipping cream and continue mixing until the filling becomes noticeably thicker.
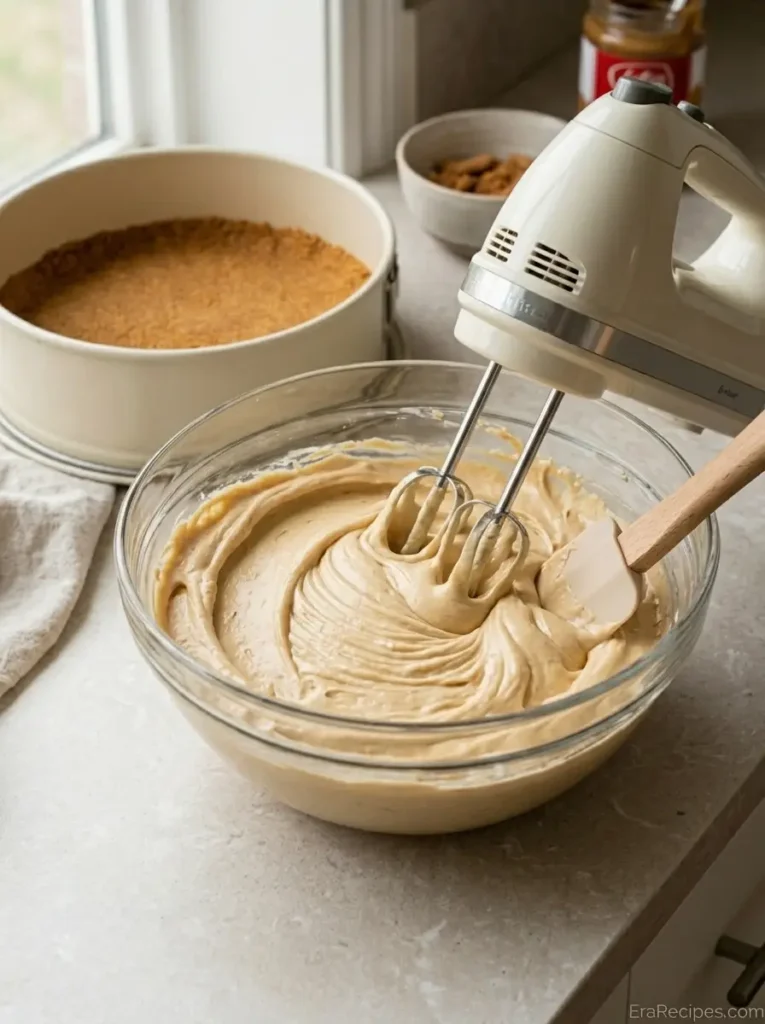
The exact mixing time can vary with the temperature of your ingredients and the strength of your mixer, so visual texture is more useful than relying only on a timer.
The finished mixture should hold visible trails from the mixer. A spoonful lifted from the bowl should maintain its shape instead of immediately flattening into the remaining filling.
This stage is especially important for a no-bake Biscoff cheesecake. Because there is no baking step to firm the filling, the mixture needs enough body before chilling.
If your heavy cream has a lower fat content and struggles to thicken in the combined mixture, it can be whipped separately until firm and then folded gently into the cream cheese mixture.
Fill the Pan and Give the Cheesecake Enough Time to Set
Spoon the thick filling onto the prepared cookie crust.
Spread it gently from the center toward the edges, making sure there are no large air pockets between the crust and filling.
Smooth the top with a spatula. A perfectly flat finish is not essential, especially if you plan to decorate the top later, but an even layer helps the cheesecake chill consistently.
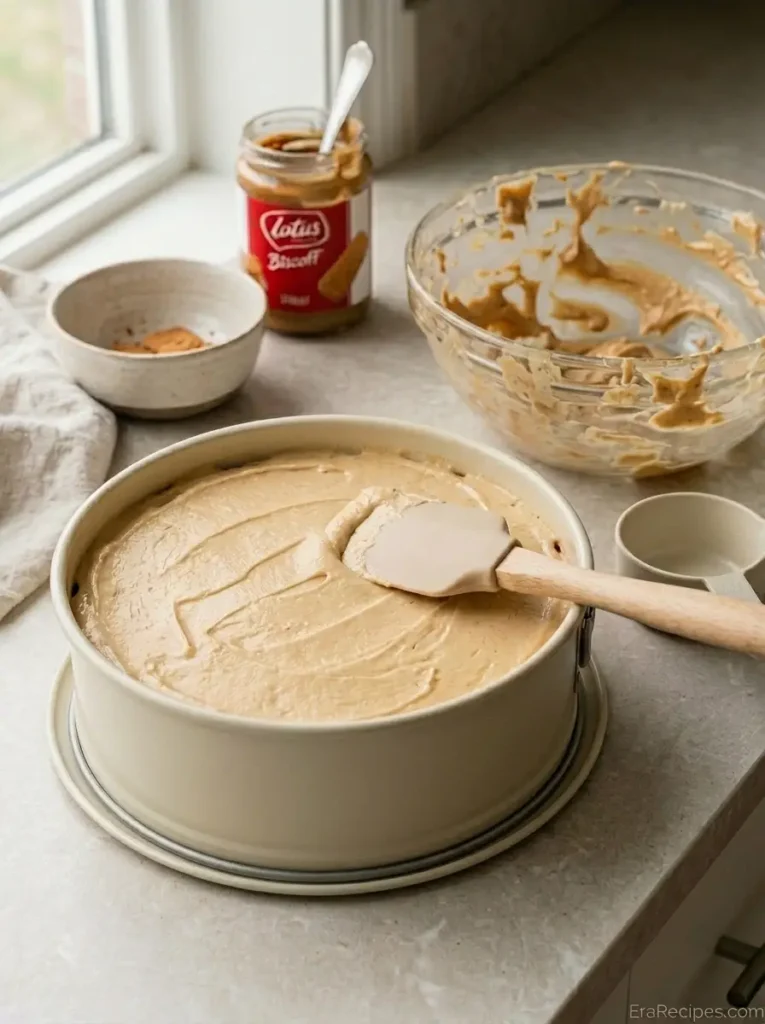
Transfer the cheesecake to the refrigerator and leave it undisturbed for several hours.
A long chill is not optional. The filling needs time to become firm enough to support its own weight after the springform ring is removed.
Preparing the cheesecake the evening before serving is one of the easiest approaches because it gives the dessert plenty of time to set without requiring you to watch the clock.
How to Know When the Cheesecake Is Properly Set
Before releasing the springform pan, gently touch the top near the center.
The filling should feel firm and chilled rather than loose or mousse-like. A slight softness is normal, but the center should not move like liquid when the pan is nudged.
Release the springform latch carefully and lift the ring straight upward.
If the sides appear to stick, run a thin knife carefully around the inside edge before opening the pan.
A well-set cheesecake should remain upright with a smooth side wall and clearly defined cookie crust underneath.
Biscoff Cheesecake
Ingredients
Biscoff Cookie Crust
- 10.6 ounces Biscoff cookies
- 4.4 ounces unsalted butter melted
Biscoff Cheesecake Filling
- 17.6 ounces full-fat cream cheese
- 3.5 ounces powdered sugar
- 8.8 ounces Biscoff spread smooth or crunchy
- 1 teaspoon vanilla extract
- 10 fluid ounces heavy whipping cream
Optional Decoration
- 5 fluid ounces heavy whipping cream
- 2 tablespoons powdered sugar
- 2.6 ounces Biscoff spread gently melted
- 12 Biscoff cookies
Instructions
Prepare the cookie crumbs:
- Process the Biscoff cookies in a food processor until they become very fine crumbs with no large pieces remaining. Add the melted butter and mix until every crumb is evenly moistened.
Press the crust firmly:
- Transfer the crumb mixture to an 8-inch deep springform pan. Spread it evenly across the base and press it down firmly with the flat bottom of a measuring cup or glass.
Whip the cheesecake filling:
- Place the full-fat cream cheese, powdered sugar, Biscoff spread, and vanilla in a large bowl. Beat until completely smooth. Add the heavy whipping cream and continue mixing until the filling becomes thick and holds its shape.
Fill and chill the cheesecake:
- Spread the filling evenly over the prepared cookie crust and smooth the top. Refrigerate for at least 5–6 hours, preferably overnight, until completely firm.
Release and decorate:
- Carefully remove the cheesecake from the springform pan. If decorating, whip the heavy cream with the powdered sugar until firm, pipe small swirls around the edge, drizzle with the gently melted Biscoff spread, and add the Biscoff cookies before slicing.
Do not remove the springform ring until the cheesecake has chilled thoroughly and feels firm through the center.
Keep the finished cheesecake refrigerated and use within about 3 days for the best texture.
Simple Ways to Decorate Biscoff Cheesecake
This dessert does not require elaborate decoration because the cookie butter color already gives it a finished appearance.
For a simple version, warm a small amount of Biscoff spread just enough to make it pourable, then drizzle a thin layer over the chilled top.
Whipped cream can be piped around the edge for additional height and contrast. Small swirls are enough; a heavy layer can hide the cheesecake itself.
Whole Biscoff cookies placed around the top can also make the flavor immediately recognizable. Adding one cookie near each intended slice provides a natural serving guide.
For the cleanest look, decorate after the cheesecake has fully chilled rather than adding warm drizzle before the filling is firm.
How to Slice a No-Bake Cheesecake Cleanly
Cold cheesecake slices more cleanly than cheesecake that has been sitting at room temperature.
Use a long sharp knife and wipe the blade between slices. A little filling will naturally stick to the knife, and removing it prevents streaks from transferring onto the next portion.
For especially neat slices, dip the knife briefly in hot water and dry it before cutting.
Press straight downward through the filling and crust rather than using a long sawing motion. This helps keep the compact cookie base attached to the filling.
Return the cheesecake to the refrigerator if it begins becoming very soft while serving.
Make-Ahead Timing for Parties and Holidays
This is one of the strongest reasons to choose Biscoff Cheesecake for a gathering.
Prepare the entire cheesecake the day before you need it and allow it to chill overnight.
The optional whipped cream and cookie decoration can be added shortly before serving. The Biscoff drizzle can also be added after setting so the top remains neat.
When transporting the dessert, keeping it inside the springform pan until you reach the destination provides extra protection. Remove the ring and decorate after the cheesecake is safely chilled at the serving location.
This make-ahead flexibility is what makes the recipe particularly practical as a party dessert despite its polished appearance.
Storage and Freezing
Biscoff Cheesecake contains cream cheese and heavy cream, so it should remain refrigerated when it is not being served.
Cover leftover slices or place them in an airtight container and return them to the refrigerator promptly. The cheesecake has its best texture within about three days.
General food-safety guidance recommends keeping refrigerated foods at 40°F or below and avoiding extended room-temperature storage. You can review the FoodSafety.gov cold storage guidance for general refrigerator and freezer recommendations.
Freezing the cheesecake
The cheesecake can also be frozen after it has fully set.
For a whole cheesecake, freeze it until firm before wrapping it securely. Individual slices can be frozen separately, which makes it easier to thaw only what you need.
Thaw frozen cheesecake gradually in the refrigerator rather than on the counter. This helps maintain a smoother filling and keeps the dessert properly chilled.
Decorative whipped cream is best added after thawing when appearance matters.
Frequently Asked Questions
Why did my Biscoff Cheesecake not set?
The most common causes are using lower-fat dairy ingredients, leaving the filling under-whipped, or not allowing enough chilling time. Use full-fat cream cheese and heavy whipping cream, whip until the mixture holds its shape, and chill thoroughly before removing the pan.
Can I make this cookie butter cheesecake the night before?
Yes. Overnight chilling is actually a very convenient way to prepare it because the filling has plenty of time to become firm before slicing and decorating.
Do I need to bake the Biscoff cookie crust?
No. The fine cookie crumbs are mixed with melted butter, pressed firmly into the springform pan, and allowed to set in the refrigerator with the filling.
Can I freeze this easy no-bake cheesecake?
Yes. Allow it to set fully first, then wrap the whole cheesecake or individual slices securely. Thaw in the refrigerator before serving.
Can I use crunchy Biscoff spread?
Yes. Smooth spread produces the most uniform filling, but crunchy cookie butter can be used when you prefer a little additional texture.